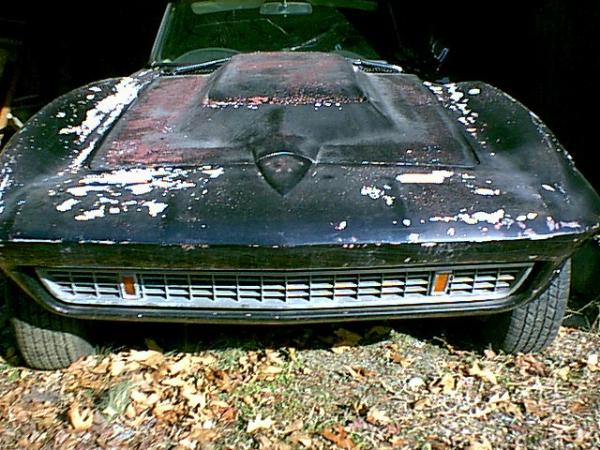
In our ongoing series on starting a New Years Restoration project, we are going to cover first steps to getting started. In the last entry, we discussed the search for a Corvette. Places to look, and the idea that you wanted to look for a car to restore that plays to your strengths. So, for now, we’re assuming you have completed your search, you found and purchased a Corvette that needs some level of care to come all the way back to fully restored and you’re ready to get going.

In this entry, we’re going to look at first steps to getting your restoration project underway. So, you’ve got the Corvette in your garage and you’re ready to jump…HOLD IT! First things first, get an HD digital camera, higher quality the better and take pictures. Lots of pictures. You can use any good 6-8 megapixel camera with HD quality, most phones these days have this type of camera at a minimum now. The point of these pictures is not just the “before” type of pictures, although you’ll want those as well. No, we’re talking about restoration pictures. The difference between a regular before shot and a restoration shot is what you are trying to accomplish.
There are a lot of reasons for this. First, you want to catalog the state of the vehicle as you begin. Keeping an accurate catalog pictures, in a photo album, or online with your computer by section is advisable. Engine compartment, Under Carriage, Front end, Hood, Left-rear Quarter panel, and so on. We’re talking thorough here. The best reason for this is when dealing with companies like Volvette, you can send copies of the images to show us the exact part(s) you are looking at replacing, or show the state of the existing part so we can help assess what your best, next steps in restoration might be.
To be sure, restoration projects can take years to complete, that being the case, you are never going to remember the state of your vehicle as well as you will during this initial photo session. And it will be necessary, believe us, to catalog and document where you start from. If you are tearing components down, document and take pictures. As you disassemble the engine, take the parts off, lay them out and take pictures as well. As much as possible, we can assist with reviewing this images and determining whether we think you need to replace pieces and parts or a whole system. These pictures are worth much more than 1000 words.
Lastly, your DURING pictures – many times, we see BEFORE – AFTER pictures, and it’s amazing to see where a restoration project starts and ends, but to tell the story adequately, you need to take your DURING the process pictures. Take pictures along the way, documenting your progress. It will help you motivate yourself to finish as well.
Speak Your Mind